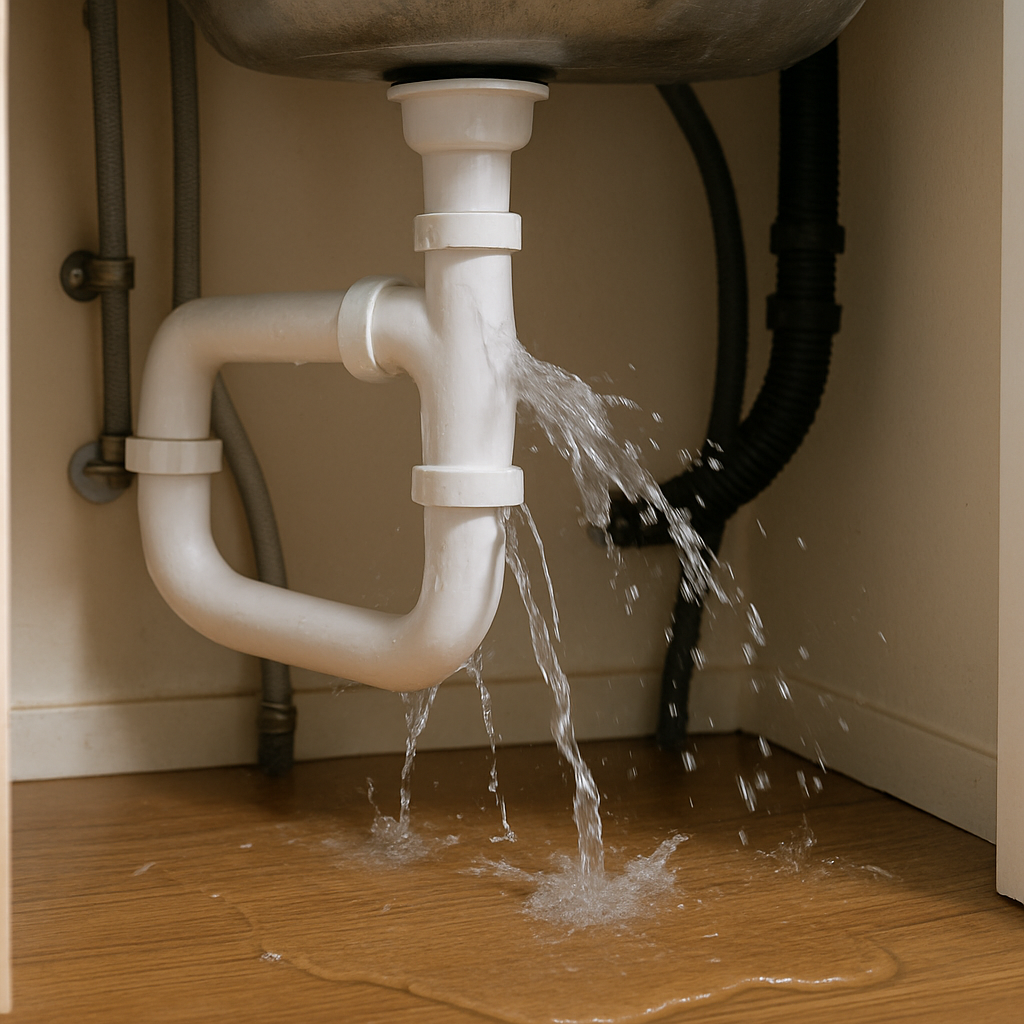
A runny toilet can be a real nuisance. It wastes water and increases your utility bills. Fortunately, fixing it is often a simple task.
Understanding the common causes is the first step. Issues like a faulty flapper or fill valve are frequent culprits. Identifying these problems can save you time and money.
This guide will walk you through the repair process. You’ll learn how to stop the water from running in the toilet. With a few tools and some patience, you can tackle this DIY project.
No need to call a plumber for a running toilet just yet. Let’s dive into the steps to fix your runny toilet quickly.
Why Is My Toilet Running? Common Causes
Have you ever noticed a constant trickling sound from your bathroom? This often indicates a runny toilet. Several factors can cause this irritating problem.
One common issue is a faulty flapper. A worn-out flapper fails to seal properly, allowing water to continuously leak into the bowl. This can be easily detected and remedied with a simple inspection.
Another potential culprit is the fill valve. If the fill valve malfunctions, the tank won’t fill correctly. This disruption can lead to continuous water running.
Problems with the float can also cause the toilet to run. If the float is set too high, it allows more water than needed in the tank.
Here’s a quick list of the main causes:
- Faulty or misaligned flapper
- Malfunctioning fill valve
- Incorrect float position
Sometimes, even a small issue like a disconnected chain can cause the toilet to act up. Determining the exact cause will guide your repair approach.

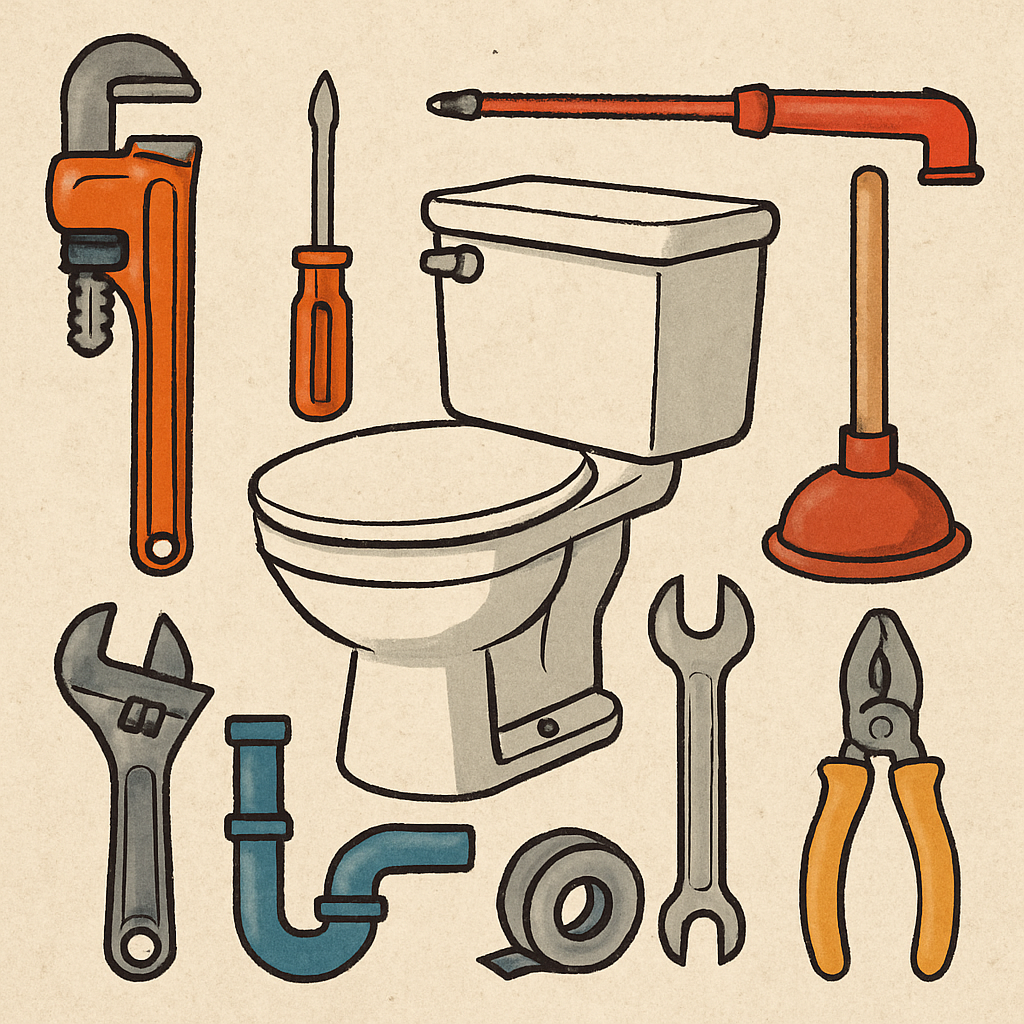
Tools and Materials Needed for Toilet Repair
Before you begin fixing your runny toilet, gather all necessary tools. Having everything within reach makes the repair process smoother and faster.
You’ll need some basic items to get started. Most repairs require only a few simple tools.
Here’s a list of essential tools and materials:
- Pliers
- Sponge
- Replacement flapper or fill valve
- Adjustable wrench
- Screwdriver
With these on hand, you’re ready to tackle your toilet troubles. Ensure you have compatible replacement parts for your toilet model.
Step 1: Turn Off the Water Supply
Begin by locating the shut-off valve behind your toilet. It’s usually near the base, on the wall or floor.
Turn the valve clockwise to stop the water flow. This crucial step prevents water damage while you work.
After turning off the water, flush the toilet to empty the tank. Use a sponge to remove any remaining water in the tank. This prepares the toilet for inspection and repairs.
Step 2: Remove the Tank Lid and Inspect Internal Parts
Carefully lift the tank lid and set it aside on a flat surface. The tank’s internal parts are now visible for inspection.
Start by examining the flapper, fill valve, float, and chain for any visible damage. Identifying the faulty component is key to resolving the runny toilet issue.
In your inspection, focus on common problem areas:
- Flapper wear or poor seal
- Misaligned float
- Clogged or damaged fill valve
Take note of any issues you detect. A thorough examination will make the repair process easier and prevent further problems.
Step 3: Check and Replace the Flapper
The flapper is a flexible part at the bottom of the tank. It controls water flow from the tank to the bowl. A worn-out or damaged flapper is a frequent culprit behind a runny toilet.
Begin by flushing the toilet to observe how the flapper functions. Does it seal properly after each flush? If not, it likely needs replacement.
To replace the flapper, follow these steps:
- Turn off the water supply to prevent accidental flooding.
- Disconnect the chain linking the flapper to the handle.
- Remove the old flapper by unhooking it from the posts on the overflow tube.
- Install the new flapper by attaching it securely to the posts.
- Reconnect the chain with slight slack, ensuring smooth operation.
After installation, turn the water supply back on and flush the toilet. Check if the water stops running, signaling a successful repair. If the flapper works well, congratulations! You’ve tackled a major cause of a running toilet.
Step 4: Adjust or Replace the Float
The float in a toilet tank regulates the water level. A malfunctioning float can cause the toilet to run continuously. If it’s set too high, water will keep flowing into the overflow tube.
Start by lifting the tank lid to locate the float. There are primarily two types of floats: ball floats and cup floats. Examine which one your toilet has and proceed accordingly.
To adjust the float:
- For a ball float, bend the arm gently downwards to lower the water level.
- For a cup float, slide the float up or down along the rod using the adjustment clip.
Test the new float setting by flushing the toilet. If adjustment does not solve the issue, the float may need replacement.
Replacing a faulty float is often straightforward. Turn off the water supply before starting to ensure safety. Attach the new float following the manufacturer’s instructions, then test again to confirm the fix.

by Mohamed Kerroudj (https://unsplash.com/@mok4)
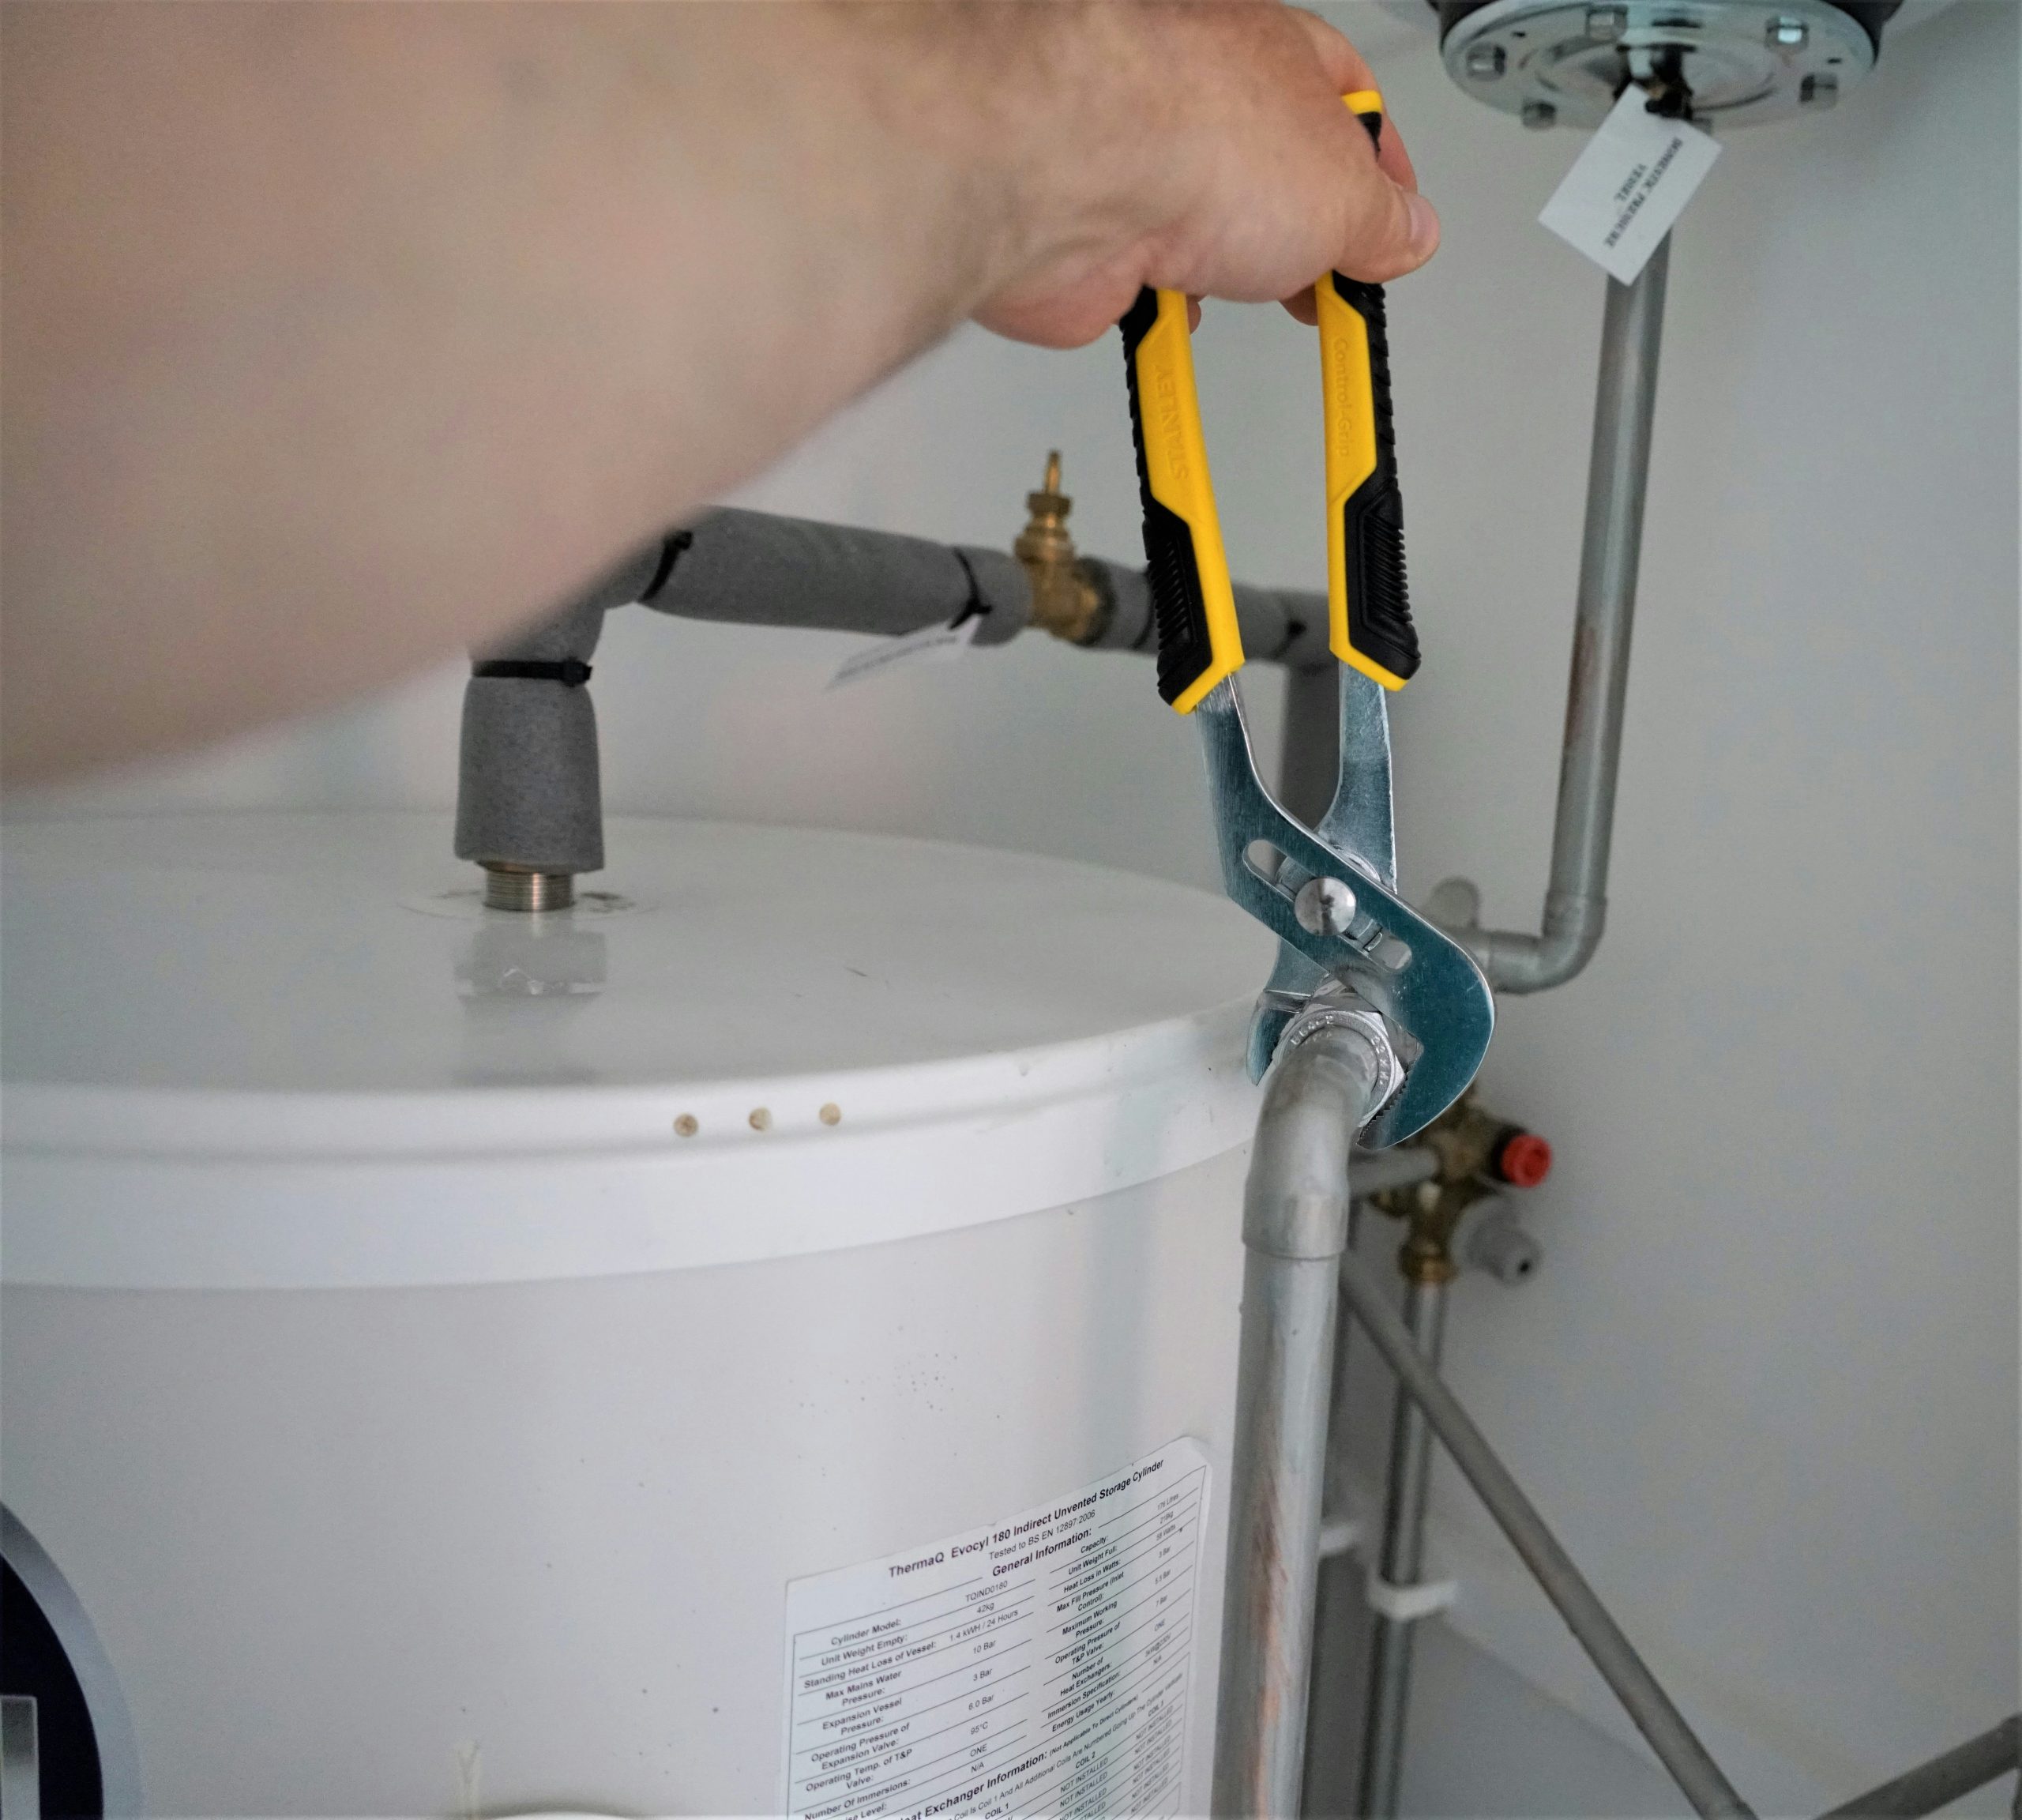
Step 5: Inspect and Clean the Fill Valve
The fill valve controls the flow of water into the toilet tank. A clogged fill valve can lead to continuous running. Begin by turning off the water supply to prevent overflow.
Remove the fill valve cap to inspect for blockages. Sediment can build up and restrict water flow. Carefully remove debris using a cloth or small brush to ensure clear passage for water.
Next, test the fill valve function:
- Reconnect the cap securely.
- Turn on the water supply and observe if the filling process stops appropriately.
If cleaning doesn’t resolve the issue, a faulty fill valve might need replacement. This process involves draining the tank and removing the old valve. Always follow instructions specific to your fill valve model to ensure proper installation.

by Aurelien Thomas (https://unsplash.com/@aurelienthms)
Step 6: Examine the Chain and Handle Mechanism
The chain and handle mechanism plays a critical role in the toilet’s functionality. A misaligned chain can cause a runny toilet. Start by removing the tank lid to access these components.
Ensure the chain has a bit of slack. If it’s too tight or tangled, it may prevent the flapper from sealing completely. This can lead to a continuous water flow, wasting both water and money.
Make the necessary adjustments:
- Realign the chain to provide slight slack.
- Ensure the handle moves freely without resistance.
Once adjusted, flush the toilet to test. The chain should lift the flapper without hindrance, allowing a complete flush.
Step 7: Test the Toilet and Check for Leaks
After making adjustments, it’s crucial to test the toilet. Turn on the water supply and let the tank refill. Carefully observe the flushing cycle for any irregularities.
Conduct a leak test to ensure everything is sealed. Add a few drops of food coloring to the tank. Wait for about 20 minutes. Check the bowl to see if any color appears.
Signs of a successful repair include:
- No water running continuously.
- No colored water in the bowl.
- Quiet flush cycle.
If everything looks good, your runny toilet problem is likely resolved. If not, revisit each step to ensure all components are properly aligned and secured.

by Jose Antonio Gallego Vázquez (https://unsplash.com/@joseantoniogall)
When to Call a Plumber for a Running Toilet
Despite your best efforts, some toilet issues may be complex. If the problem persists, it may be time to consult a professional. Skilled plumbers have the expertise to diagnose subtle issues.
Here are signs you need a plumber:
- Continuous running without obvious cause.
- Water leaking from the base.
- Persistent clogs despite clearing attempts.
Time saved is money saved. Hiring a plumber can prevent further damage and higher repair costs. For stubborn problems, a professional can offer lasting solutions.
Preventing Future Toilet Problems
Preventive maintenance can keep your toilet functioning properly. Regular checks can prevent minor issues from becoming major problems. This saves both water and money.
Consider these tips for prevention:
- Inspect flapper and chain monthly.
- Clean the tank every six months.
- Check for leaks regularly.
Preventive care reduces the chances of running toilets and ensures efficient operation. Simple actions like adjusting parts and keeping components clean go a long way. Regular attention avoids costly repairs in the future.
Frequently Asked Questions About Runny Toilets
Why does my toilet keep running?
A running toilet is usually caused by a faulty flapper, fill valve, or float. Identifying the exact problem is key to fixing it.
How can I quickly stop a running toilet?
Turning off the water supply is a quick way to stop a running toilet temporarily. This prevents further water waste until you can address the issue.
What tools do I need for a running toilet repair?
You’ll generally need pliers, a sponge, and replacement parts like a flapper or fill valve. A basic toilet repair kit can also be handy.
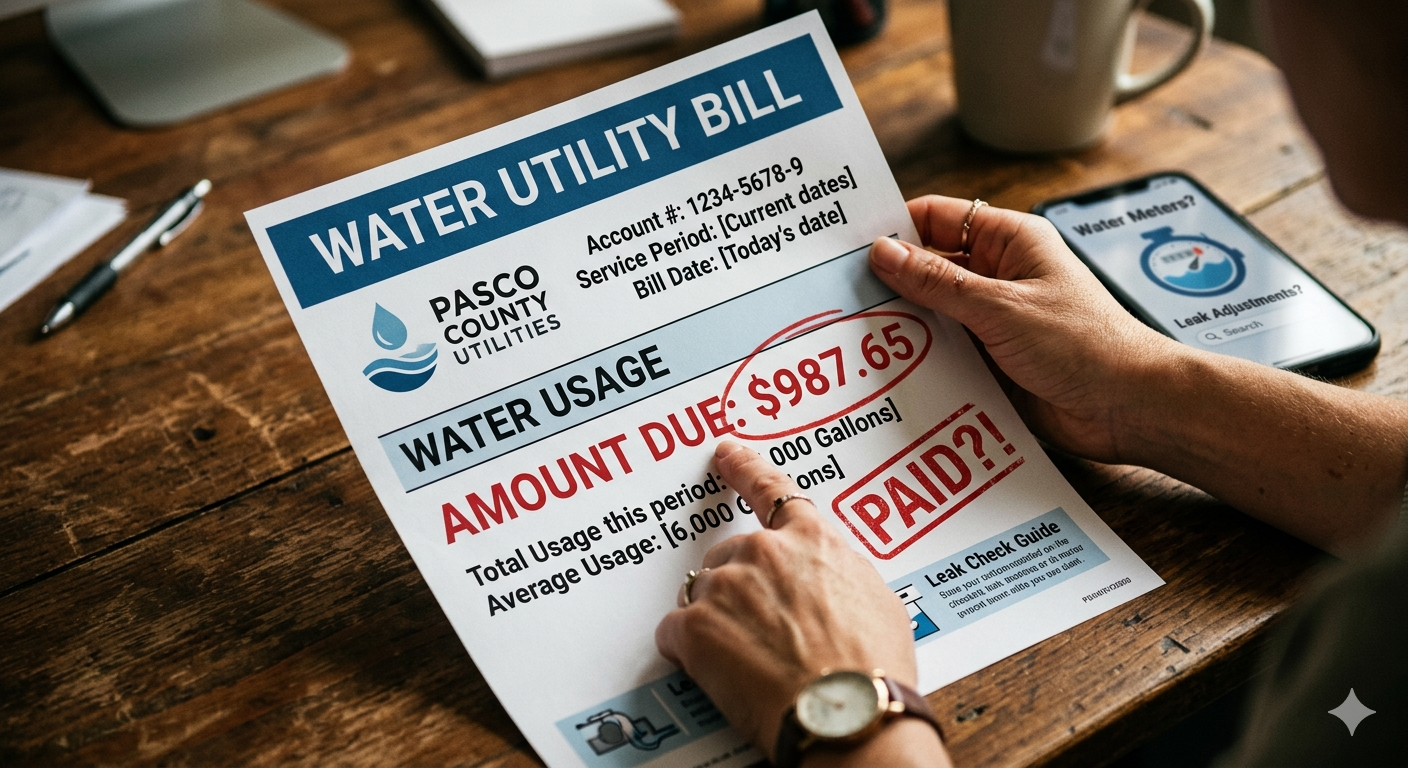
Conclusion: Save Water and Money With Quick Toilet Repair
Fixing a runny toilet is not just about convenience; it’s about conservation. By addressing the issue promptly, you can prevent the waste of hundreds of gallons of water each day. This not only benefits the environment but also reduces your utility bills.
Regular maintenance and timely repairs can extend the life of your toilet. They also help you avoid costly plumbing emergencies in the future. Simple steps, like checking parts for wear and adjusting components, can make a big difference.
Even if you’re new to DIY repairs, fixing a runny toilet is achievable with the right tools and guidance. Take control of your bathroom plumbing, save water, and keep your home running smoothly.