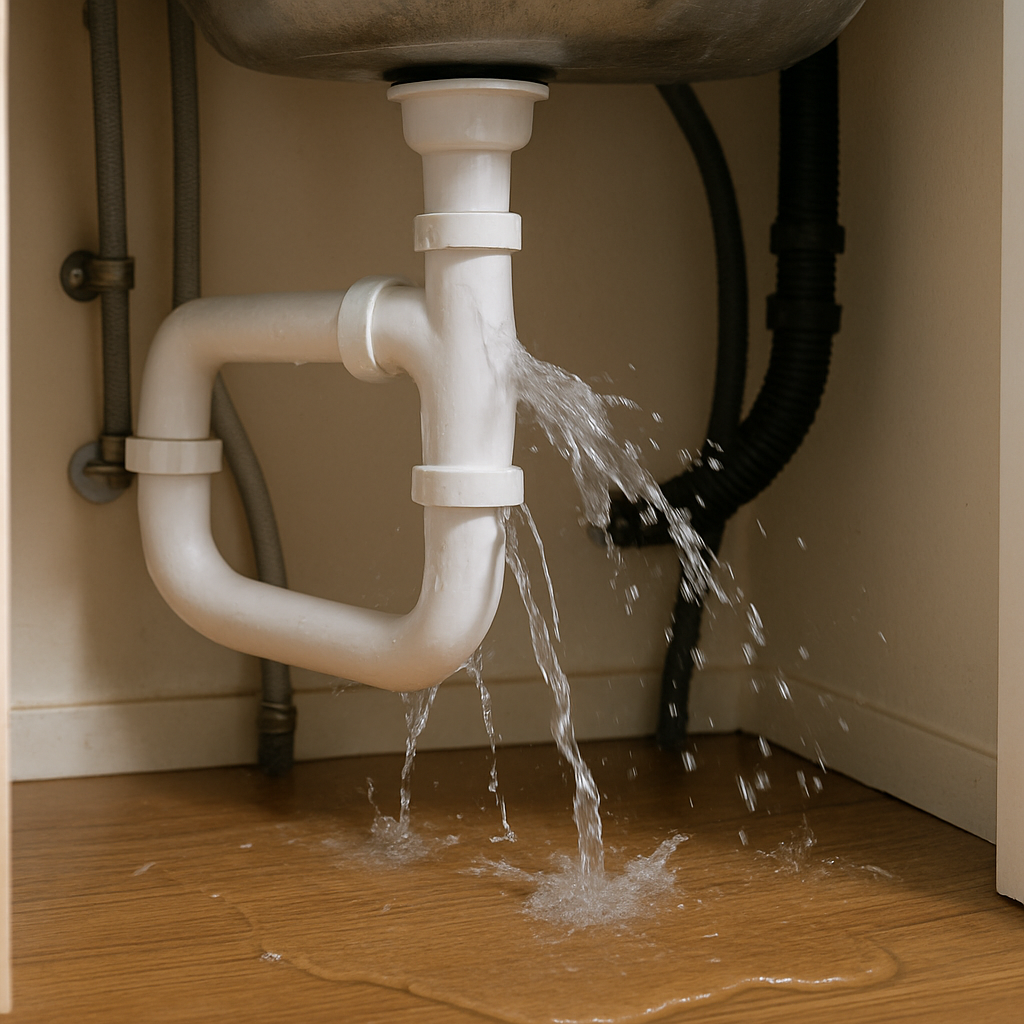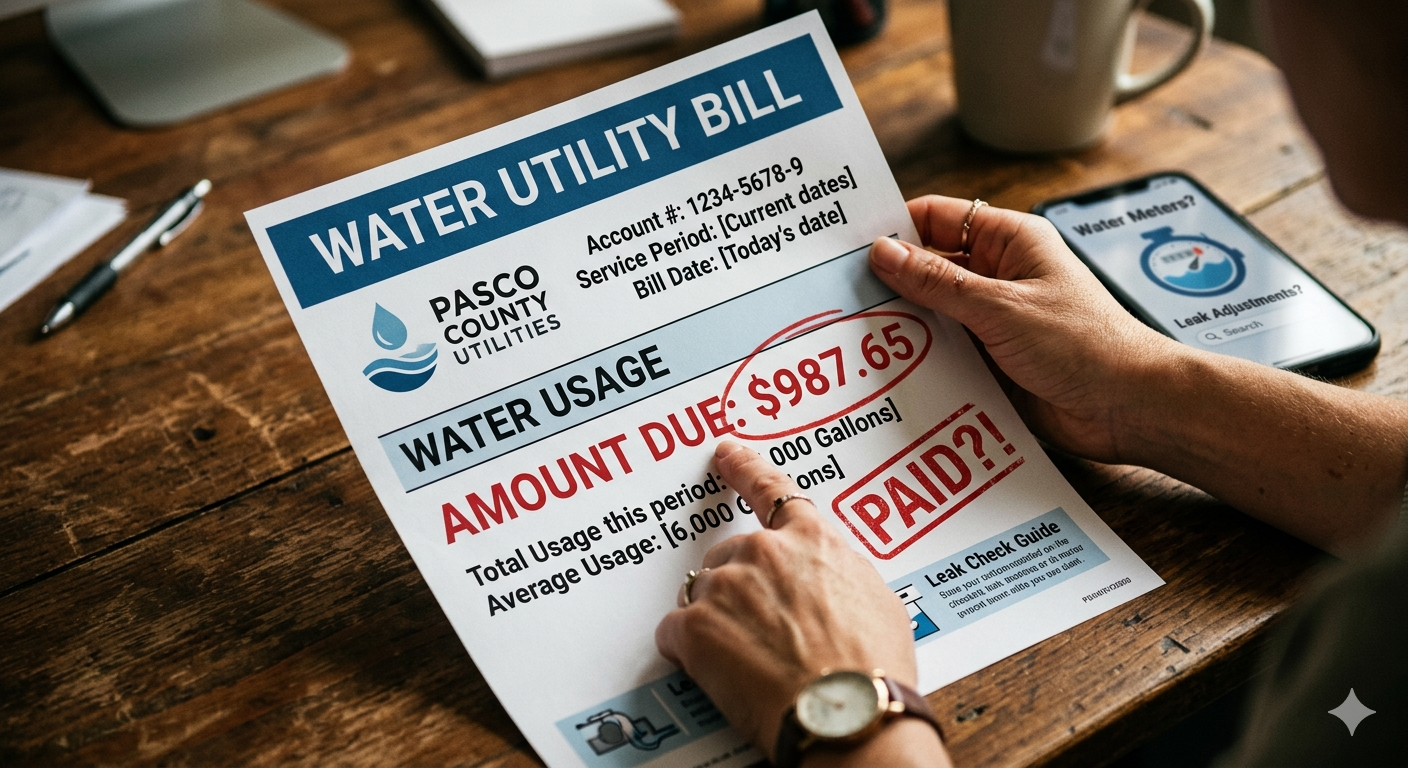
A runny toilet is not just annoying; it’s also a waste of water and can lead to higher water bills. Fortunately, fixing a leaking toilet can be a straightforward task that you can handle without calling a plumber. With a few tools and some basic know-how, you can tackle this common plumbing problem efficiently. In this guide, we’ll walk you through the steps to diagnose the issue and implement plumbing solutions to stop your toilet from running.
Before diving into the repair process, it’s essential to understand what causes a toilet to run. Typically, a runny toilet is due to one of three main components: the flapper, the fill valve, or the overflow tube. Identifying which part is malfunctioning will help you determine the best course of action for your toilet repair.
The Flapper
The flapper is a rubber seal at the bottom of the toilet tank that lifts to allow water to flow into the bowl when you flush. If the flapper is worn out or not sealing properly, it can cause continuous water flow into the bowl. Over time, the rubber can degrade due to constant exposure to water and cleaning chemicals, leading to leaks. It’s crucial to inspect the flapper periodically for signs of wear and tear, such as cracks or warping.
Furthermore, mineral deposits from hard water can accumulate on the flapper, preventing it from sealing correctly. Cleaning the flapper with vinegar or a commercial descaling solution can help maintain its functionality. If you notice that the flapper is not closing properly or appears brittle, it’s time to replace it. A new flapper is an inexpensive solution to a potentially costly problem.
The Fill Valve
The fill valve controls the water level in the tank. If it’s not working correctly, it may cause the tank to overfill and water to leak into the overflow tube. This can be due to a misaligned float or a malfunctioning fill valve. Adjusting the float can often resolve this issue by ensuring that the water shuts off at the appropriate level.
In some cases, the fill valve itself may be defective and require replacement. It’s important to choose a high-quality replacement that matches your toilet model to ensure optimal performance. Regular maintenance, such as cleaning the valve and checking for wear, can prolong its lifespan and prevent issues.
The Overflow Tube
The overflow tube prevents the tank from overflowing by directing excess water into the bowl. If the water level is too high, it will cause the toilet to run continuously. This often indicates a problem with the fill valve or the float setting. Ensuring that the water level is set below the top of the overflow tube is crucial to prevent constant running.
If the overflow tube is cracked or damaged, it can also lead to leaks. Inspect the tube for any visible signs of wear and replace it if necessary. A properly functioning overflow tube is essential for maintaining the correct water level in the tank and preventing unnecessary water waste.
Tools You’ll Need
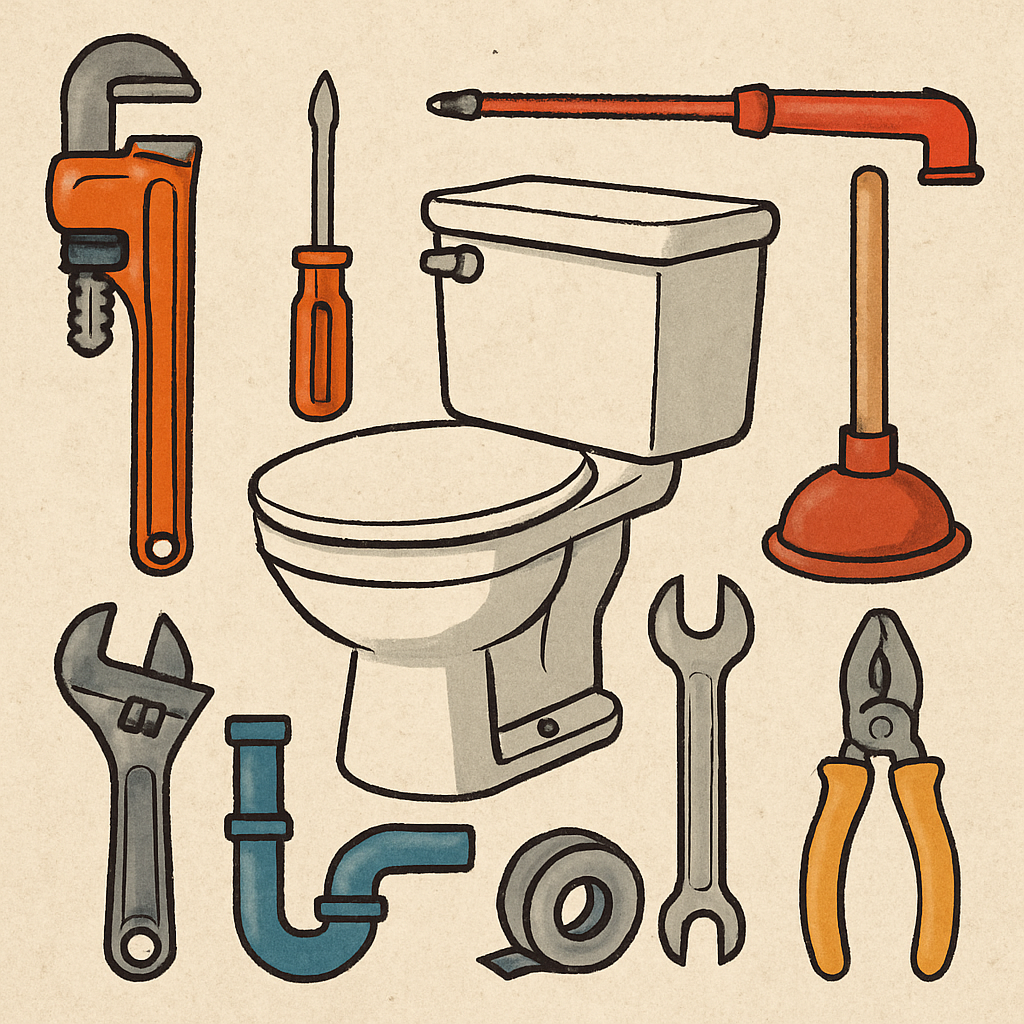
Before you begin, gather the necessary tools and materials to fix your leaking toilet. You’ll need:
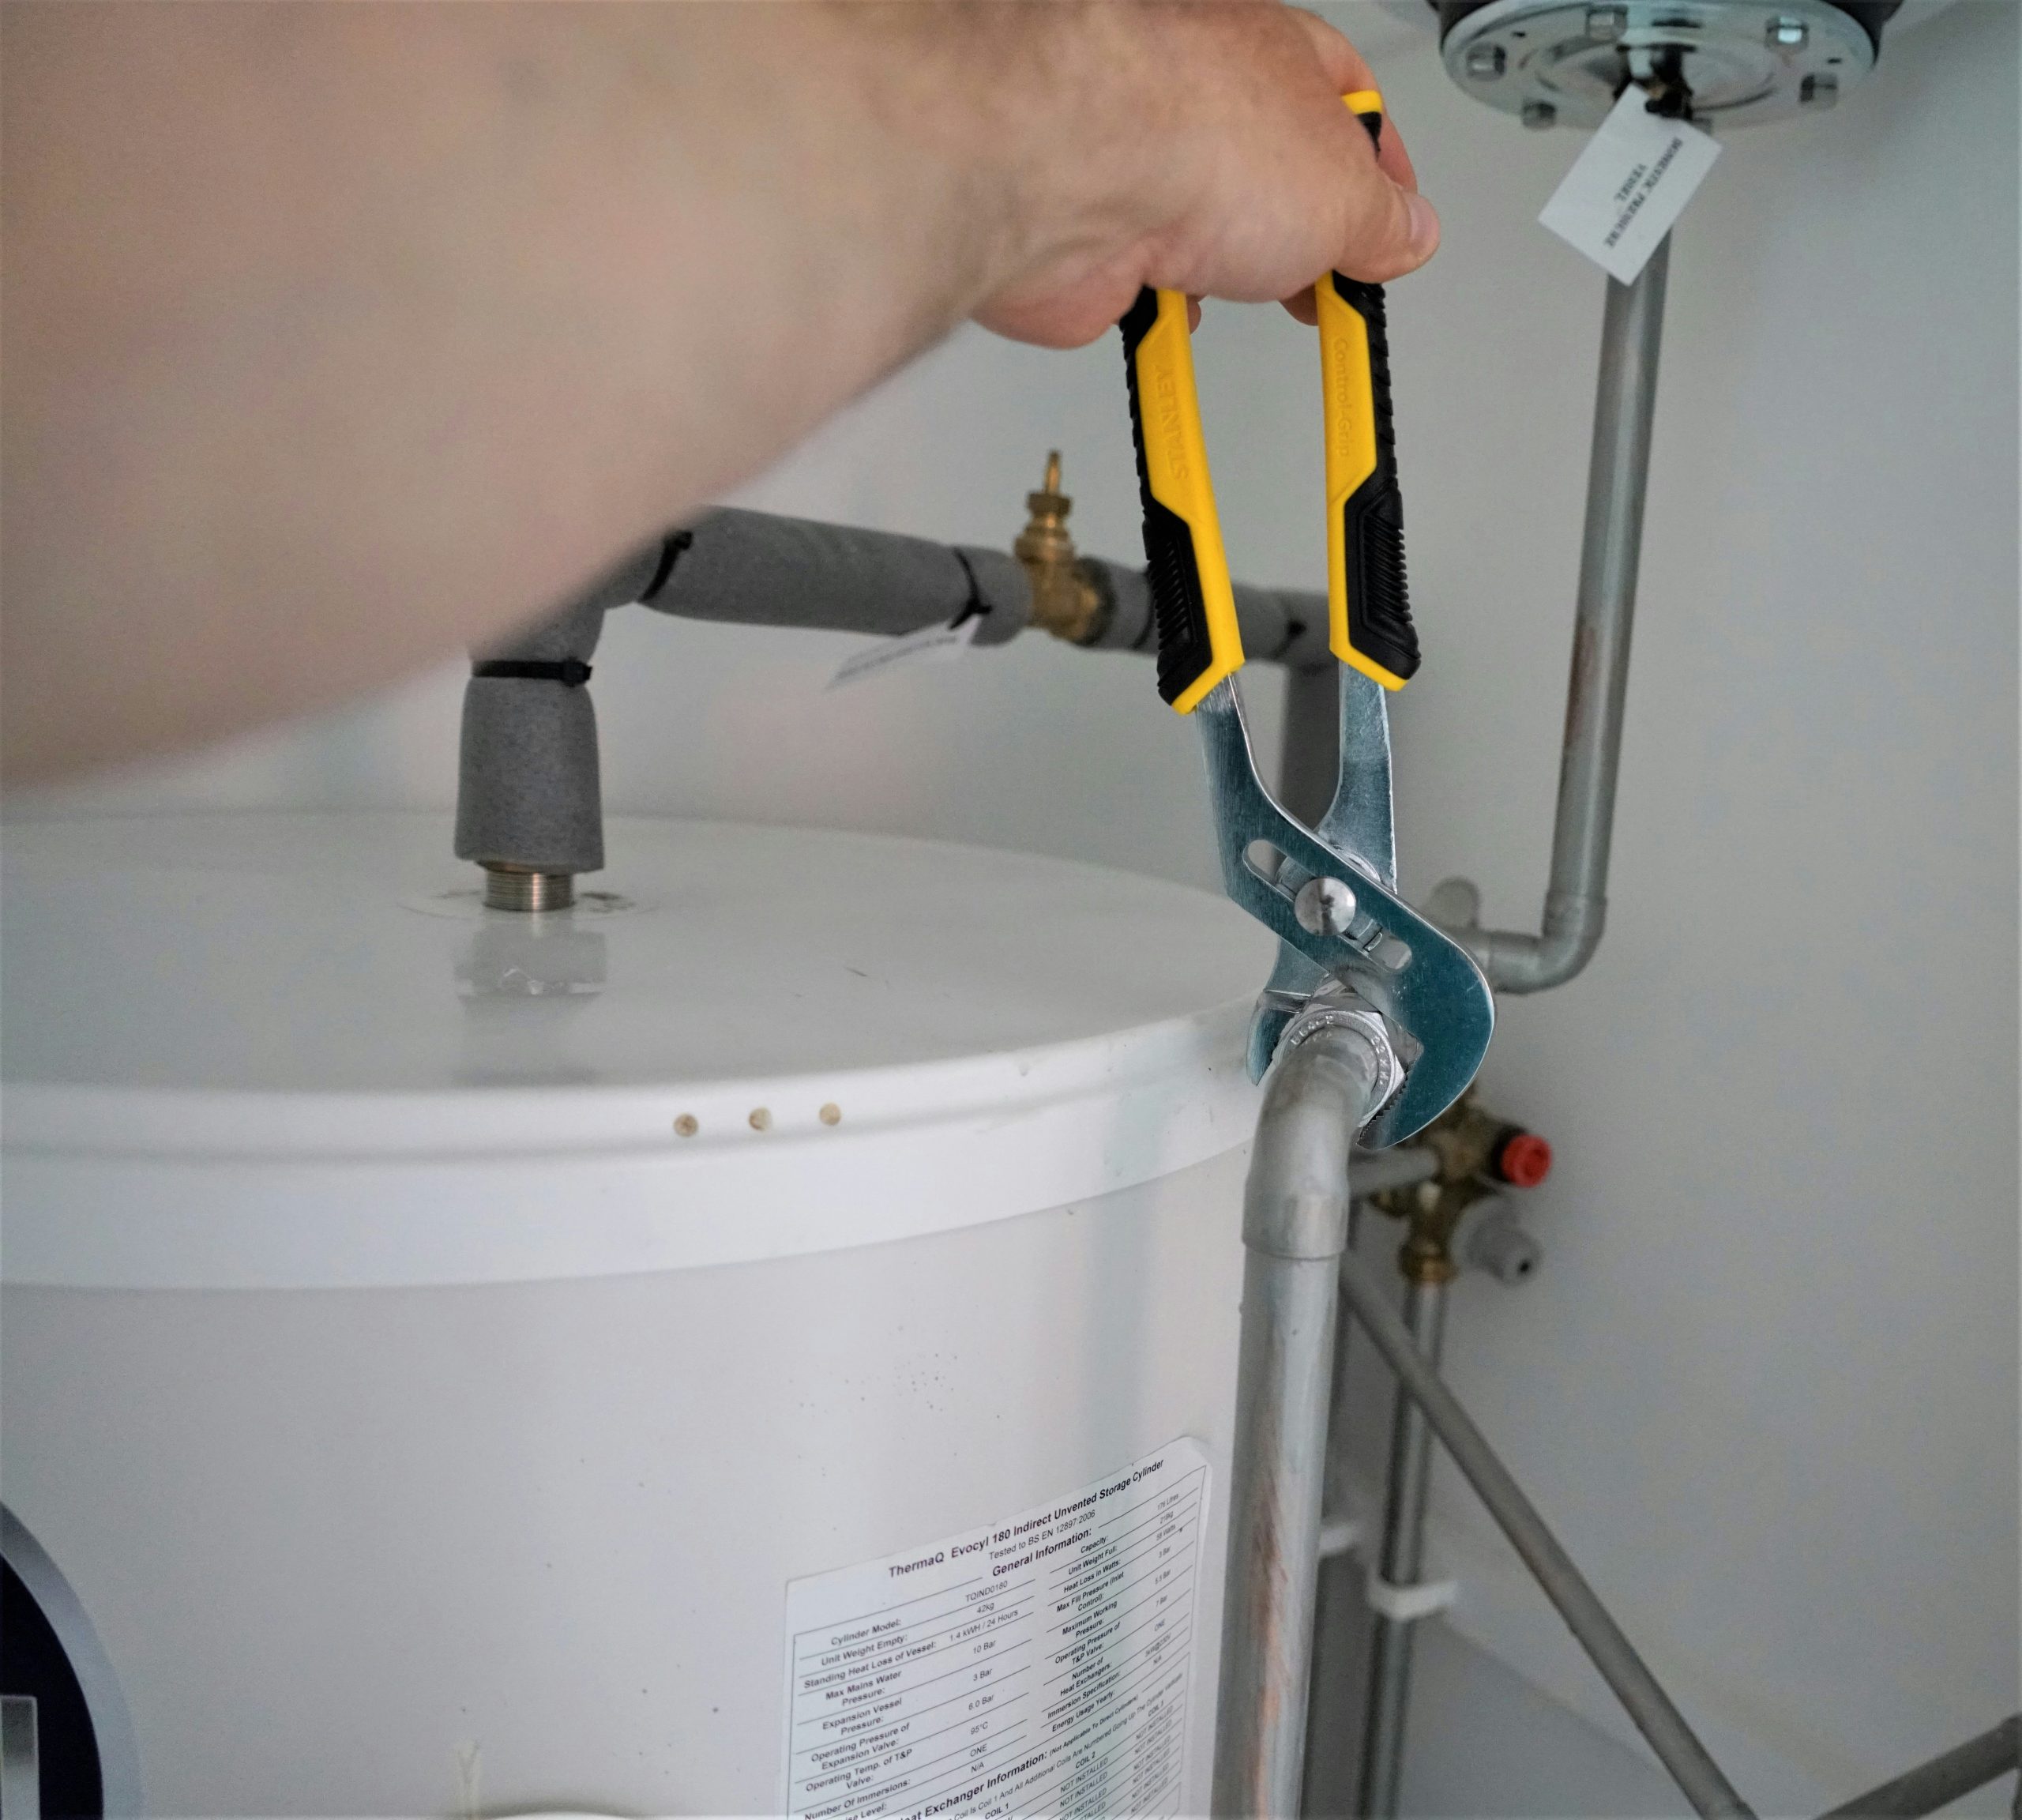
- Adjustable wrench
- Screwdriver
- Replacement flapper or fill valve (if needed)
- Towel or sponge
Having the right tools on hand can make the repair process smoother and more efficient. An adjustable wrench is versatile and can be used for various fittings and bolts. A screwdriver is essential for removing and securing components within the toilet tank. Additionally, a towel or sponge is useful for cleaning up any excess water and ensuring a dry working area.
Consider purchasing a toilet repair kit that includes common replacement parts such as flappers and fill valves. This can save time and ensure you have the correct components for your specific toilet model. Keep these tools and materials in a designated plumbing kit for easy access during future repairs or maintenance.
Step-by-Step Guide to Fixing a Runny Toilet
Step 1: Turn Off the Water Supply

If the shut-off valve is stiff or difficult to turn, apply a small amount of penetrating oil to help loosen it. Be gentle when turning the valve to avoid damaging the plumbing. Once the water supply is turned off, flush the toilet to empty the tank and remove any remaining water with a sponge or towel.
Step 2: Empty the Tank
Flush the toilet to drain the water from the tank. If necessary, use a towel or sponge to soak up any remaining water at the bottom of the tank. This step is crucial to ensure a dry working environment and prevent any accidental spills during the repair.
Carefully remove the toilet tank lid and set it aside in a safe location to avoid breakage. Use a sponge or towel to absorb any excess water, paying special attention to the area around the flapper and fill valve. A dry tank makes it easier to inspect and replace components without the risk of water damage.
Step 3: Inspect the Flapper
Remove the lid from the toilet tank and inspect the flapper. Look for signs of wear or damage, such as cracks or mineral buildup. If the flapper appears damaged, replace it with a new one. To do this, disconnect the chain from the flush handle and remove the old flapper. Attach the new flapper to the flush valve and reconnect the chain.
Ensure that the chain has the correct amount of slack; too tight or too loose can prevent the flapper from sealing properly. Test the flapper by manually lifting it to check for smooth operation. If the flapper is still not sealing correctly, consider adjusting the chain length or replacing the flush valve seat.
Step 4: Check the Fill Valve
If the flapper is in good condition, the next step is to check the fill valve. Ensure it is positioned correctly and that the float is moving freely. Adjust the float arm or the fill valve adjustment screw to set the water level about an inch below the top of the overflow tube.
Inspect the fill valve for any signs of wear or damage, such as cracks or corrosion. If the fill valve is not functioning properly, consider replacing it with a new one. A properly adjusted fill valve ensures efficient water usage and prevents the toilet from running continuously.
Step 5: Examine the Overflow Tube
Verify that the overflow tube is intact and not cracked. The water level should be set below the top of the overflow tube to prevent water from continuously entering the bowl. If the tube is damaged, it will need to be replaced.
Check the connection between the overflow tube and the flush valve to ensure it is secure. A loose connection can result in leaks and inefficient flushing. Regularly inspecting the overflow tube for wear and tear can prevent issues before they become major problems.
Step 6: Turn the Water Supply Back On
Once you’ve made the necessary adjustments and replacements, turn the water supply back on by turning the shut-off valve counterclockwise. Allow the tank to fill and observe the toilet to ensure it is no longer running.
Monitor the water level in the tank and make any additional adjustments if necessary. Flush the toilet several times to test the effectiveness of the repairs and ensure there are no leaks. If the toilet continues to run, recheck the components and consider consulting a professional plumber if needed.
Additional Tips and Considerations
- Regular Maintenance: Regularly check your toilet’s components to ensure they are in good working order. This can prevent issues before they start. Conduct a monthly inspection to look for signs of wear or leaks and address any problems promptly.
- Quality Parts: When replacing parts, opt for high-quality components. While they may cost a bit more upfront, they will last longer and save you money in the long run. Investing in durable materials reduces the frequency of repairs and enhances the overall performance of your toilet.
- Professional Help: If you’re uncomfortable performing these repairs yourself or if the problem persists after following these steps, it may be time to consult a professional plumber. A plumber can provide expert advice and ensure that your toilet is functioning correctly.
Common Mistakes to Avoid
When fixing a runny toilet, avoid these common pitfalls:
- Ignoring Small Leaks: Even a small leak can waste a significant amount of water over time. Address leaks as soon as they are detected to prevent water waste and higher utility bills.
- Overtightening Bolts: When reassembling parts, avoid overtightening as this can damage the components or the tank itself. Tighten bolts just enough to secure the parts without causing stress on the materials.
- Forgetting to Test: Always test the toilet after making adjustments to ensure the problem is resolved. Multiple flushes help confirm that repairs were successful and the toilet is working efficiently.
Conclusion
Fixing a runny toilet is a manageable task that can save you money and reduce water waste. By following these straightforward steps and implementing the appropriate plumbing solutions, you can quickly resolve a leaking toilet and restore peace to your bathroom. Remember, regular maintenance can prevent many common toilet problems, so keep an eye on your toilet’s condition to ensure it stays in optimal working order.
Regular inspections and timely repairs not only extend the life of your toilet but also contribute to environmental conservation by reducing water waste. Empower yourself with the knowledge and tools necessary to tackle minor plumbing issues and maintain a functional and efficient home.